
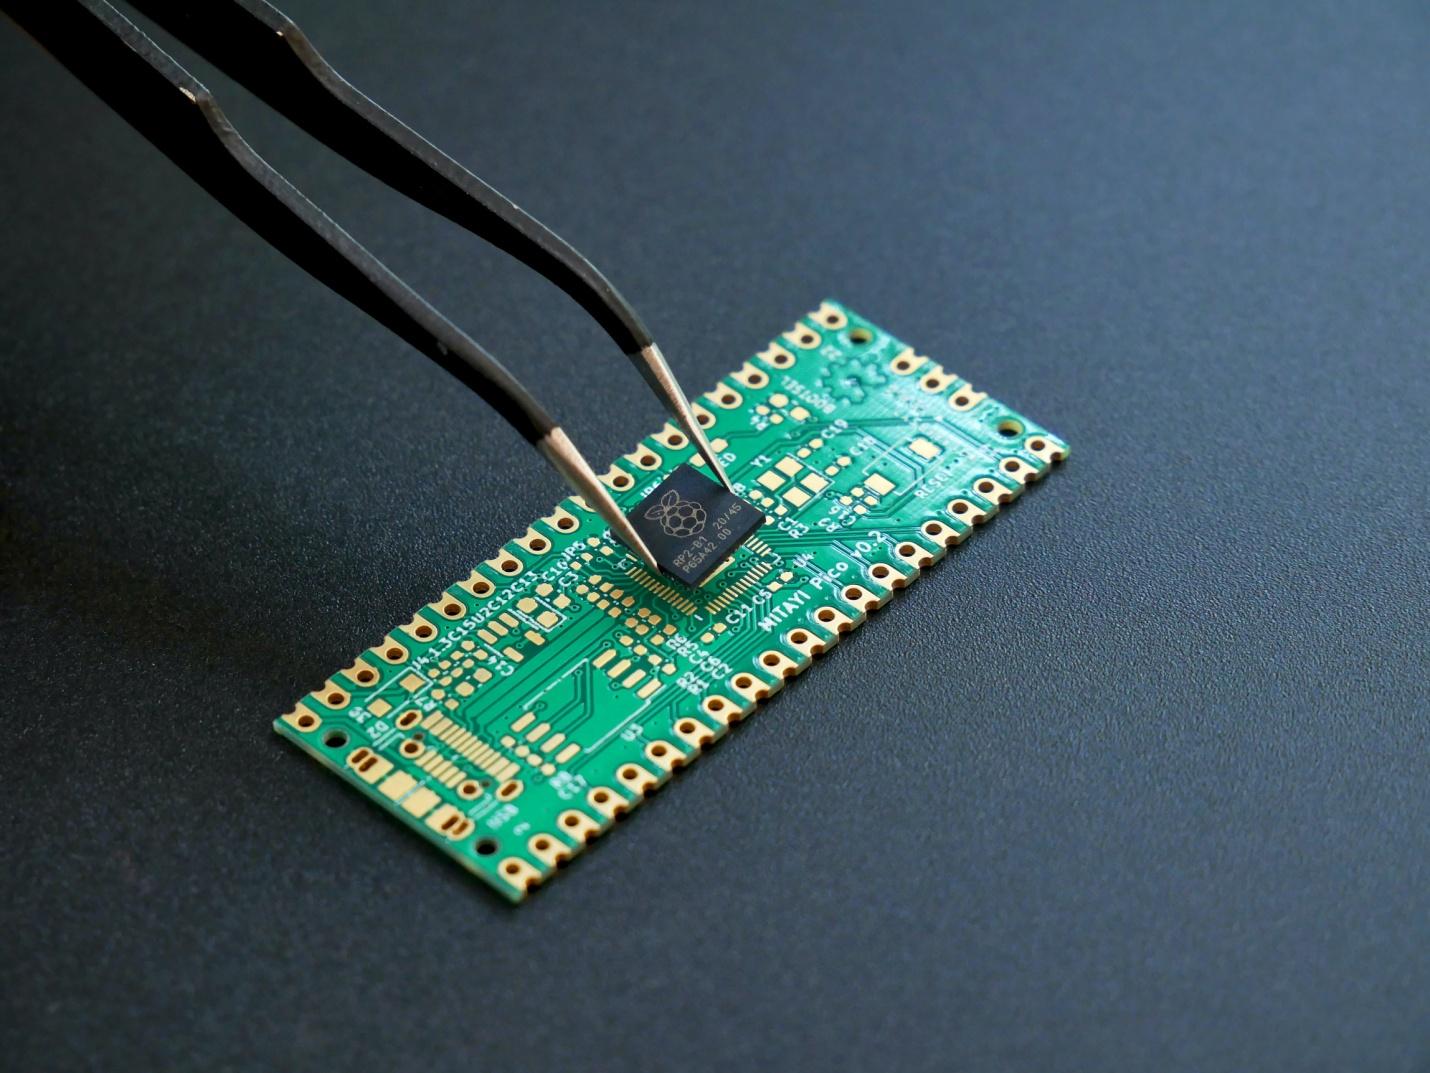
The Digital Engineer’s Guide to RF PCB Design Guidelines: Layout and Routing
The time domain is familiar territory for a digital designer. They likely have a solid conceptual understanding of how electronics behave over time. When entering the radio frequency (RF) industry, you’ll need to develop expertise in RF PCB design layout whether you intend to design an all-analog or mixed-signal system.
Upon completion of your RF PCB design layout, you may utilize various field solver tools to test your designs and guarantee that your system will function as intended.
How to Layout an RF PCB With a Balun?
Some things must be taken into account at the outset of any board design, and RF PCB design layout is no different. Which size board do you have? Is there a specified spot where all the important parts and plugs must be? How will the mechanism of it being contained work? All of these are vital concerns for every printed circuit board, but RF systems add their own set of design challenges.
When designing an RF PCB design or a digital system with a high-frequency RF portion, it’s vital to consider the following factors:
-
Acquire Extra Information
So, what sort of protocols are we talking about here? To accomplish their tasks, RF systems will operate at a predetermined, standard protocol and frequency range. It is also possible for there to be more than one protocol in use within the system, and these protocols must be kept independent of one another.
-
Frequencies
Overall, parasitics are easier to ignore at lower frequencies than at higher ones. When operating at lower frequencies, RF systems are less prone to link radiated noise to one another.
The frequency must be taken into account for most RF PCB design choices. Then there are the necessities unique to each system, such as the PCB for a radar system or the number of antennas used. Since analog components interact with RF signals in a unique way, the two portions must be handled separately. Because of this, component placement and routing decisions will be affected in the layout.
-
Digital Interfaces
The digital interfaces in some systems can have slower edge rates. Therefore, they may not have a significant impact on analog performance if the proper routing and PCB layout are followed. Crosstalk into an RF signal net is more likely to occur in high-computing-power embedded systems that use high-speed protocols like double data rate (DDR) PCI, gigabit Ethernet, and others.
Baluns add two layers of complexity to an RF PCB design: the balun itself and the routing of the balanced and unbalanced lines. To design an RF PCB, just use the same methods you would for any other type of RF board.
- Via fences or electromagnetic bandgap structures can be used to create isolation between circuit blocks (EBGs)
- Choose traces that are shorter and match impedances as required.
- You should try to grid out the design such that the various chunks of functionality are spread out throughout the board.
If you’re using a balun on a feed line for a dipole antenna, you should position it such that its output is flush with the ground plane and then run the balanced signal straight to the antenna. Typically, this is performed using a microstrip antenna or an inverted-F antenna. For inbound connections, a ground plane is required when using a monopole antenna or coaxial connection. Put grounded guard vias around the feedlines and in the space between the antenna and any other electronics if you need a high degree of isolation.
RF Signal Chain Design for FMCW Chirped Radar Systems
For transmission to the Tx antennas, the frequency in FMCW chirped radar systems is synthesized at a linear ramp rate. The perfect frequency-time graph looks like a sine wave. When the emitted frequency is synthesized at discrete values, the output frequency graph can look quite similar to a stairstep waveform in real systems.
Chirped radar systems must take range and resolution into consideration when developing their designs. Note that the noise figure (NF) is equal to the logarithm of the Rx SNR divided by the Tx SNR; hence the maximum useful range in an FMCW chirp system with a linear ramp rate can be calculated using this formula.
In FMCW radar, the range resolution is measured in terms of the chirp bandwidth. By extracting the frequency shift of successive chirps using heterodyne detection, FMCW chirped radar can be utilized to calculate the velocity of an approaching object.
The Doppler effect, which causes the frequency change, makes determining the speed of a moving target quite easy. An additional use for your radar system is to determine the target’s heading by combining it with the directional emission of a phased array antenna. We’d like to zero in on the signal integrity challenges posed by RF amplifiers and their unique properties.
RF Power Amplifier Impedance Matching at Microwave and mmWave Frequencies
If you know about the field of RF power integrity matching, you know that pulsed RF power amplifiers require high-quality voltage regulators in mobile devices to prevent transient signals from escaping the amplifier’s output. When examining their RF circuits and deciding on proper impedance matching, the signal integrity specialists who may now be tasked with RF design are likely accustomed to working with S-parameters at low signal levels. Class AB and Class C RF amplifiers operate in the nonlinear regime; hence the usage of S-parameters is inappropriate in their design.
Power transmission is maximized when the load impedance is matched to the complex conjugate of the amplifier’s output impedance at low signal levels. However, with a deliberate impedance mismatch, a power amplifier located around the RF transmit section can provide more gain and efficiency at the rated output power.
For high-output amplifiers, the match/mismatch between the output impedance and the load impedance that results in optimum power transfer to the load may not coincide with the match/mismatch that results in optimal efficiency at the intended frequency.
So, how do you find the optimally matched impedance at the load for optimum performance? Load-pull analysis is required to identify the correct impedance observed by the amplifier’s output since the impedance seen by the source varies with the input and output power levels. You must then adjust the impedance of the load to meet this number.
Doing load-pull analysis using a simulator and a Smith chart is surprisingly easy. The plan is to cycle through a wide range of input powers and load impedances. Once you have the load resistance and reactance, you may probe the output current/voltage to determine the gain and efficiency. After that, you take the input power and plot the power contours as a function of the load impedance.
Each curve represents a range of resistance and reactance values that result in a certain amount of output power and efficiency. If you look at the points where the contours meet, you can figure out the efficiency vs. output power tradeoff for a given power level. Remember that the contours produced will vary depending on the input power used.
Large-signal RF Amplifier Impedance Matching
Matching network to use for setting the load impedance can be deduced from the reactance and resistance values obtained from the load-pull test. Then, you may double-check your finding by using a test coupon and a vector network analyzer.
In addition to self-resonance, the bandwidth of your matching network may cause issues for FMCW chirped radar, so keep an eye on how it acts at high frequencies. Remember that the 77 GHz chirp range can go up to 4 GHz; therefore, your bandwidth needs to be somewhat stable between 74 and 81 GHz.
The input and output impedances of a bipolar or field effect transistor need to be matched to those of the circuit in which it is used for optimal performance. For the same reason, an antenna must be matched to be driven efficiently. Optimal power transmission occurs when the source impedance and the load impedance are conjugate matches, meaning that the resistive components are identical and the imaginary components are of equal magnitude but opposite polarity.
Basic matching can be broken down into three categories:
Transformer Matching
RF Very wideband impedance matching can be achieved with a transformer. Transformers have a limited frequency range and a narrow range of possible impedances due to their turn ratios.
LC Matching
In LC matching, inductors and capacitors work together to change the impedance. LC matching produces a very specific frequency match. LC matching is widely applicable from 30 MHz to 300 MHz. With LC matching, you can easily fine-tune the match to accommodate device variations.
Transmission Line Matching
Characteristic impedance can be used to achieve the necessary composite match. Such a match often has a greater frequency range than LC matching and can be used at frequencies above 150 MHz. Once a transmission line is built, adjusting its length or characteristic impedance might be a hassle.
In order to determine which of the aforementioned methods of matching is most suited for a certain application, all of them must be compared to the design requirements.
RF Amplifier from ICs and Discrete Components
You may encounter additional trouble operating at RF frequencies if you are forced to create a custom amplifier from discrete components since your ideal IC isn’t available. In addition to the high-power nonlinearity of these amplifiers’ responses, impedance mismatches introduced by the design itself can wreak havoc on signals. It is possible that you won’t be able to achieve a consistent impedance throughout the amplifier’s design if you use components with widely varying impedances. It’s because mmWave frequencies have extremely short wavelengths.
Let’s examine component choices before delving into layout details. GaN-based components excel in new RF design applications with 10-100 GHz bandwidths. Components based on a GaAs process are optimal at lower GHz frequencies. If you’re using capacitors and inductors for matching, remember that they each have their own self-resonance frequency, and pick ones that are high enough.
With microwave frequencies, the wavelengths of your signals are on the order of centimeters. Hence impedance mismatches may usually be tolerated, provided that the traces connecting components are short enough.
Even if you lay out the components in your bespoke RF amplifier as nearly as possible, at mmWave frequencies, it is much more likely that every trace will operate like a lengthy transmission line. Standing waves can emerge along a trace if there is a mismatch between components; these waves can be at the fundamental frequency or at one or higher-order harmonics. When this occurs, your traces will begin to radiate like antennas.
Because of the limited space available for copper on the surface layer, a transmission line architecture such as coplanar waveguides is impractical here. You’ll need to insulate the amplifier section of the board to maintain signal quality. In your ground plane’s sub-surface layer, make sure to follow standard practices and partition apart from the digital and analog ground sections.
Ground planes are placed on every other layer of multilayer boards with a high layer count to provide adequate shielding and isolation between signal layers. Copper pours grounded with vias should be used to protect sensitive RF components.
How to Layout a Phase-locked Loop IC in Your RF PCB Design
When designing a printed circuit board (PCB), phase-locked loops are useful because they are integral to the operation of many radio systems, telecommunications systems, and other RF devices that need frequency synthesis.
An integrated VCO structure and a phase-locked loop provide robust and internally adjustable clock signals for high-frequency transceivers and high-speed digital devices. On the other hand, there are PLL ICs that come as standalone chips and feature an internal VCO design. Phase noise elimination, demodulation, and a clean waveform in frequency synthesis are a few crucial functions made possible by a PLL in your RF PCB design.
When designing with a discrete phase-locked loop, it is important for designers to consider the same parasitic effects that might affect any RF PCB design.
Phase-locked Loop’s Printed Circuit Board Layout
Phase-locked loop ICs with frequencies in the low GHz range are easily available on the market. The phase-locked loop, comprising the VCO configuration and supporting circuitry, is typically integrated into the die of transceivers and modems for higher-frequency systems. They may operate at intermediate frequencies to generate a clean signal that may be converted and modulated into the necessary RF range.
Because radio frequency (RF) signals will be fed into, output from, and routed all over a phase-locked loop integrated circuit, signal integrity must be maintained at all times. What follows is a list of some of the more crucial aspects of the RF PCB design:
Separation and Arranged Boards
Different circuit blocks should be placed in distinct areas of the board to prevent interference between the input RF, the output RF, and other analog/digital portions. Also, be sure to implement some isolation structures (through fences, separate routing layers, ground pour) to prevent RF parts from interfering with each other and other board sections.
Power Integrity
Power-supply noise requires perfect decoupling; therefore, employ neighboring power and ground planes as the foundation of your phase-locked loop PDN. Also, regard the circuit as a high-speed digital system and place a decoupling network adjacent to the power pins. This will provide consistent DC voltage to these ICs and minimize ringing in the power bus or power plane when digital ICs elsewhere on the board switch.
Bypass or decoupling capacitors require their own individual vias to properly connect to the ground plane. A thermal pad should be placed under it to direct the heat away from the phase-locked loop IC and back into the PCB ground plane.
Above WiFi frequencies, a low-loss laminate should be considered if working with GHz frequencies. Isola or Rogers materials are a good option for low-loss transmission of radio frequency signals. It’s best to keep RF traces as short as possible and on a grid to minimize interference and losses.
Phase-locked loop integrated circuits (ICs) require precise impedance matching of transmission lines and input/output ports, much like any other RF system.
Is it Possible to Have a Different VCO Design?
Modern phase-locked loop ICs often feature an integrated VCO design; therefore, this is unusual. However, there are situations that call for a unique VCO design. When a phase-locked loop is required for high-power RF systems, the components may need to be physically separated on many circuit boards (phase-locked loop, amplifier, VCO layout, and other components).
Moreover, a specialized VCO may be used for reference signal production or direct frequency synthesis in software-defined radio systems. Building your own phase-locked loop for a system isn’t necessary to know that working with a VCO is challenging.
The phase noise of a VCO and the power-supply noise it experiences are both affected by its bandwidth. For voltage VCOs with a wider bandwidth, the susceptibility to power-supply noise may be higher than with narrower bandwidth voltage VCOs; hence, ultralow-noise power regulators are advised to reduce phase noise at the VCO’s output. When designing, keep in mind that a narrowband VCO can only support a more limited range of frequencies.
PCB Antennas: Know Your Frequency Range

The design engineer of the past might have weighed the benefits of a less flexible but more durable trace antenna against the costs associated with their desired frequency range. In today’s world, embedded antenna gear is designed to work in a frequency range that spans 400 MHz to 5.5 GHz. Perhaps the heat is on the market because of the simplicity, low cost, and high reliability of ceramic antenna applications.
Before PCB fabrication begins, the cost of laying down a single wire trace in CAD is negligible. The trace antenna can be made for very little money, but the ceramic chip antenna is still often the better option. The benefits of the ceramic chip antenna outweigh the higher initial investment due to its simplified implementation, compact design, and resistance to interference from the surrounding environment.
PCB Tracking Antennas
It is notoriously difficult to design, execute, and adjust printed circuit board trace antennas, especially when striving for a compact and dependable solution. The length of a trace antenna, like that of a wire antenna, will change depending on the frequencies of the intended band. A considerably longer antenna would be required for the trace antenna’s signal integrity to resonate at low frequencies.
A PCB trace antenna has the following benefits over a ceramic chip antenna:
- The PCB board has the trace antenna permanently affixed to it during production.
- After fine-tuning, a trace antenna may command a strong and reliable network while operating over a broad frequency range.
- Trace antennas range is very discrete.
Using printed circuit board trace antennas can have drawbacks like:
- Complexity in design, especially at low frequencies. There is a considerable likelihood that they will need tuning or even remanufacturing if the board layout is ever altered.
- In low-frequency designs, they require significantly more room than a ceramic chip antenna. The cost of the design will go up in proportion to the amount of PCB area that is actually used.
- Because of their exposed nature, trace antennas are easily disrupted by their surroundings.
- No post-production alterations to the PCB trace antenna are physically possible. For any adjustments, the user must redo the antenna layout and PCB production. A ceramic chip antenna may be used instead of a PCB antenna due to the latter’s possible bulkiness and the former’s time-consuming design/tuning procedure, which often involves PCB simulation software and rigorous testing.
- The size and frequency of your antenna will still be a concern, even if it looks different.
Ceramic Chip Antennas
In most cases, ceramic chip antennas will likewise need to be tuned through a network design, although they do not share the trace antenna’s immutable physical qualities. This avoids the wasteful costs associated with simulation software and creating brand-new prototype circuit boards.
As an additional perk, ceramic chip antennas may provide:
- Obtainable in both compact and flexible layouts.
- There is less of an effect from nearby components and environmental noise on them.
- Board design guidelines and DDR layout changes can be made with little hassle and no simulation required. The ceramic-chip antenna is simpler to adjust or swap out.
- It’s not all roses with ceramic-chip antennas.
- The cost of ceramic chip antennas and the accessories needed to operate them is higher upfront.
The ceramic chip antenna can be added after the board’s layout has been finalized. Therefore, developers have more leeway in terms of fine-tuning the product. The ceramic chip antennas are surface-mounted, so they may be swapped out quickly if any hardware has to be updated.
High Speeds Bridge the Gap with RF Design
Building an antenna using ceramic chip antennas frees up valuable board real estate that can be used for other purposes. Alternatively, this flexibility may be traded off for a smaller board size to save on production costs. When designing a board with a Flex PCB trace antenna for high-volume production, it is essential for the design engineer to take into account the increasing amount of wasted space caused by each additional board layer.
It is challenging to design a compact antenna with high signal strength and low tuning time that still leaves room for a second matching component. No of the chosen method of implementation, thorough testing of the final prototype is essential for establishing over-the-air metrics that can be analyzed to verify the prototype’s feasibility.